ReactJS Tutorial# 2 – Components and Props
Because you are here, reading this, I assume that you have already created your first React application. It was not hard at all, right? If you haven’t already done so, you will need to check out this article.
Tutorial Index
- ReactJS Tutorial# 1 – An Introduction
- ReactJS Tutorial# 2 – Components and Props
- ReactJS Tutorial# 3 – Component State and Lifecycle
- ReactJS Tutorial# 4 – Forms, Events, and Keys
- ReactJS Tutorial# 5 – React Flux and Redux
- ReactJS Tutorial# 6 – ReactJS Best Practices
- 51-important-reactjs-interview-questions
Let’s have a quick look over the project structure.
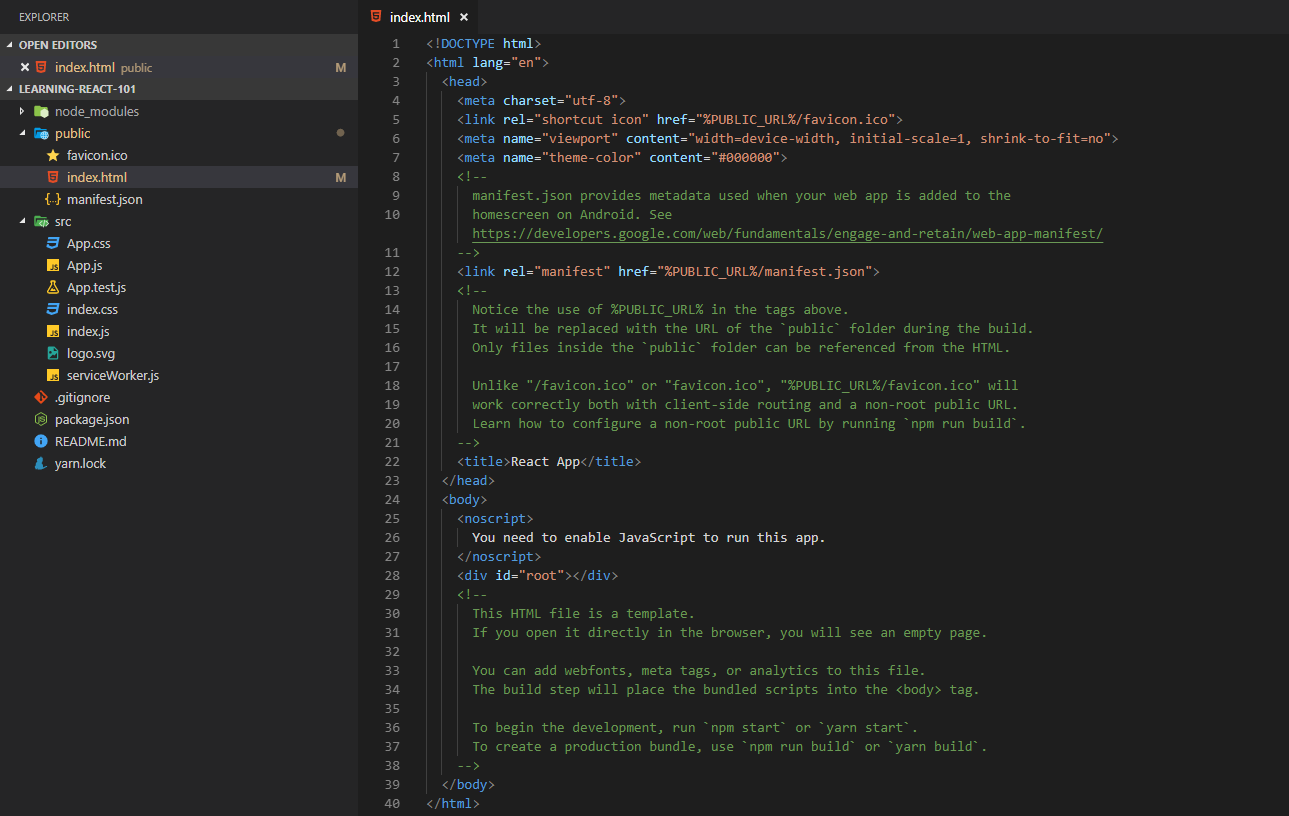
Like all of us already know, every web application must have HTML file, at least one (in our case it is index.html). We will not go in details what all we have in this file, only mention that somewhere inside the body tag of this file is this line of code.
|
1 |
<div id="root"></div> |
An empty div?
I don’t know if you already start the application, but if you did that, in the browser you should have seen something like the image below. In other cases, you can start the application by running some built-in commands: (make sure you are at the root of the project folder)
|
1 2 |
npm start |
or
|
1 2 |
yarn start |
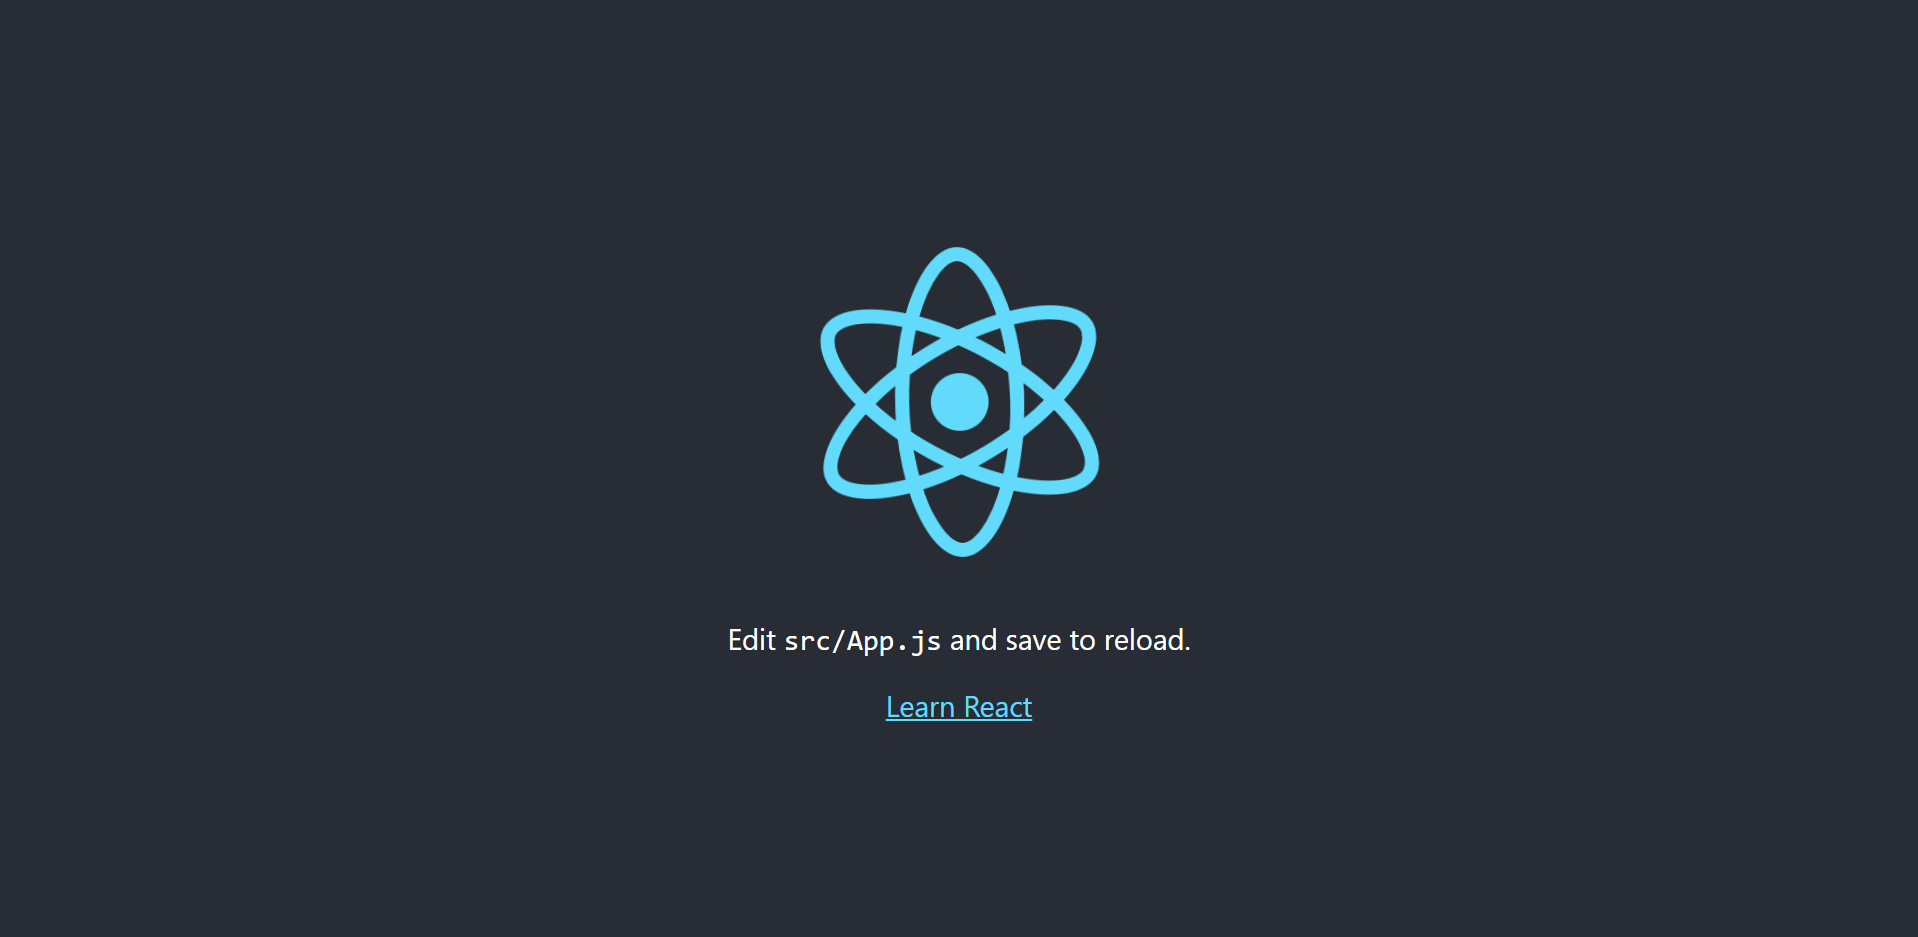
But because we have an empty div, shouldn’t we have a white screen? As far as I can see it doesn’t look like that.
Let’s see what we have in the other files, maybe we will find the answer there.
Inside index.js we use ES6 syntax to import several things. One of those imports is ReactDOM from react-dom. This package provides DOM-specific methods that can be used at the top level of your app. In other words this is primary API for rendering into the DOM. Do you remember div with id="root". Well, check the following code.
|
1 |
ReactDOM.render(<App />, document.getElementById('root')); |
This is the place that render a React component into the DOM in the provided container and return a reference to the component. Do not worry if you have no idea what is component. Just keep reading!
What are the ReactJS Components?
Components are the building blocks of any React app.
They allow you to split the UI into independent and reusable pieces and think about each piece in isolation. A typical React app will have many components.
Open App.js and quickly update the code to something like this.
|
1 2 3 4 5 6 7 8 9 10 11 12 13 14 15 16 |
import React, { Component } from 'react'; import './App.css'; class App extends Component { render() { return ( <div className="App"> <header className="App-header"> Hello World </header> </div> ); } } export default App; |
Now, go back to the browser and see how your updated component look.
You have just edited your first React component.
Function and Class Components
Let’s now define our first React component. The simplest way for doing that is to write a JavaScript function:
|
1 2 3 |
function Welcome() { return <h1>Hello reader</h1>; } |
You can write this in the App.js file, just below your imports (it starts on line 4 in our example). Once you are done with that, update App component like this:
|
1 2 3 4 5 |
... <header className="App-header"> < Welcome /> </header> ... |
Save the changes and go to your browser to see the result.
Congratulations, you have just created your first React component and nested it inside another React component.
Maybe you have noticed that our newly created function (React component) returns a React element. I assume you already know that this React element is JSX and not HTML. In case you did not, check this out.
There is one more way to define a component, by using ES6 class. Classes are in fact “special functions”.
|
1 2 3 4 5 |
class Welcome extends React.Component { render() { return <h1>Hello reader</h1>; } } |
From React’s point of view, the two components above are equivalent.
Props
We already know that to normal HTML elements we can pass attributes like class, href, id, etc. Let’s say we want to show two welcome messages.
|
1 2 3 4 5 6 |
... <header className="App-header"> < Welcome /> < Welcome /> </header> ... |
If we run the code above it will show Hello reader twice. But what if we want to show Welcome reader and Hello from the other side. Should we create another component for that? Of course not. We just need to use props. In React props is short for properties. It is an object containing a set of values that are passed to React Components on creation using a naming convention similar to HTML-tag attributes. Confusing? Nah.
The main idea is that components can be customized when they are created, with different parameters. These creation parameters are received through props. Same as in HTML, we can pass arguments to React elements. For example, we can pass different messages as arguments to our already created React elements. Something just like this :
|
1 2 3 4 5 6 |
... <header className="App-header"> < Welcome message="Welcome reader"/> < Welcome message="Hello from the other side" /> </header> ... |
That’s it. Now we should see the different messages in our application. Save, Reload and … No. All we can see on the screen is Hello reader, twice.
The things is that we successfully sent our message to Welcome component, but there we didn’t show it. How would we, how would React know what to do with that. Well, it is actually able to take this attribute and gives us acces to them inside our component, by using object we mentioned before. Say its name. Props. You are damn right. Just to be clear, props is not mandatory name, it’s up to you, but you will receive one argument in your function that is passed by default by React and in that object you will find all the properties off the component and properties means the attributes we add to our element just before. In React this is refered like props, that’s why we will name it props. So after little modification, our React component should look like this.
|
1 2 3 |
function Welcome(props) { return <h1>{props.message}</h1> } |
when using class-based components, it’s this.props
|
1 2 3 4 5 |
class Welcome extends React.Component { render() { return <h1>{this.props.message}</h1>; } } |
Conclusion
So now we have a reusable component, which has clearly defined a template and inside we use dynamic content which we set from outside, in the place where we actually use that component. Think about all the possibilities that this approach offers. It’s one big step toward building great and flexible applications.
You can find the sample source code for ReactJS Components and Props at our GitHub repository.
Download Code
Tutorial Index
- ReactJS Tutorial# 1 – An Introduction
- ReactJS Tutorial# 2 – Components and Props
- ReactJS Tutorial# 3 – Component State and Lifecycle
- ReactJS Tutorial# 4 – Forms, Events, and Keys
- ReactJS Tutorial# 5 – React Flux and Redux
- ReactJS Tutorial# 6 – ReactJS Best Practices
- 51-important-reactjs-interview-questions