A Beginner’s Guide to Microsoft Web Template Studio (VS Code) – Step By Step
Recently, Microsoft has announced a cross-platform extension for Visual studio code (VSC) called Microsoft Web Template Studio. ‘Web template studio’ provides a developer-friendly wizard to create one full-stack web application.
This extension is still early in development and supports only React.js and node.js currently. In this blog post, we will learn how it works with a simple example.
Installation Of Microsoft Web Template Studio:
We are going to create one full stack application with React as its front end and node.js as its backend. We will use Bootstrap-4 for developing the UI elements. Open “visual studio code”, go to the extension tab and search for “Web template studio”:
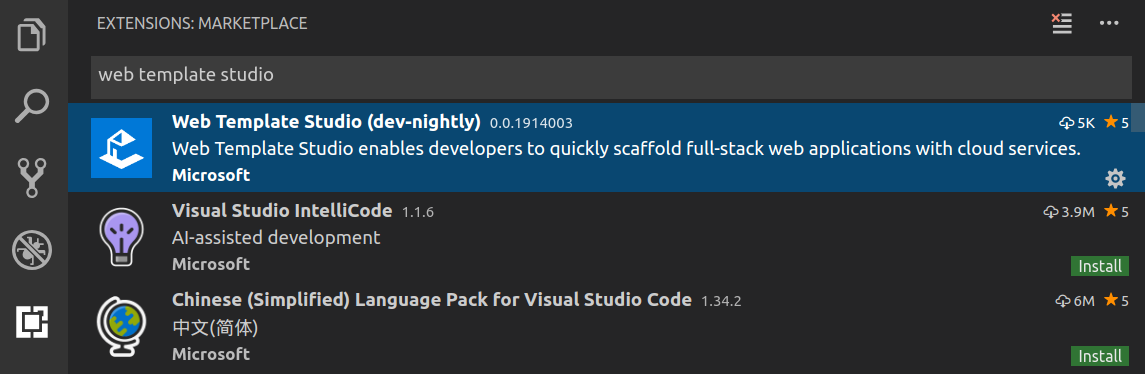
As you can see that at the time of writing this article, “Web template studio” is released only as “dev nightly” build. Install it and restart your “visual studio code”.
Press “ctrl+shift+p” if you are using windows/linux machine or ⇧⌘P if you are using Mac to open the visual studio extension launcher. Search for “web template studio” and hit enter to open this extension.
Creating your first project:
Once you open the “web template studio” extension, it will walk you through the initial setup of the application.
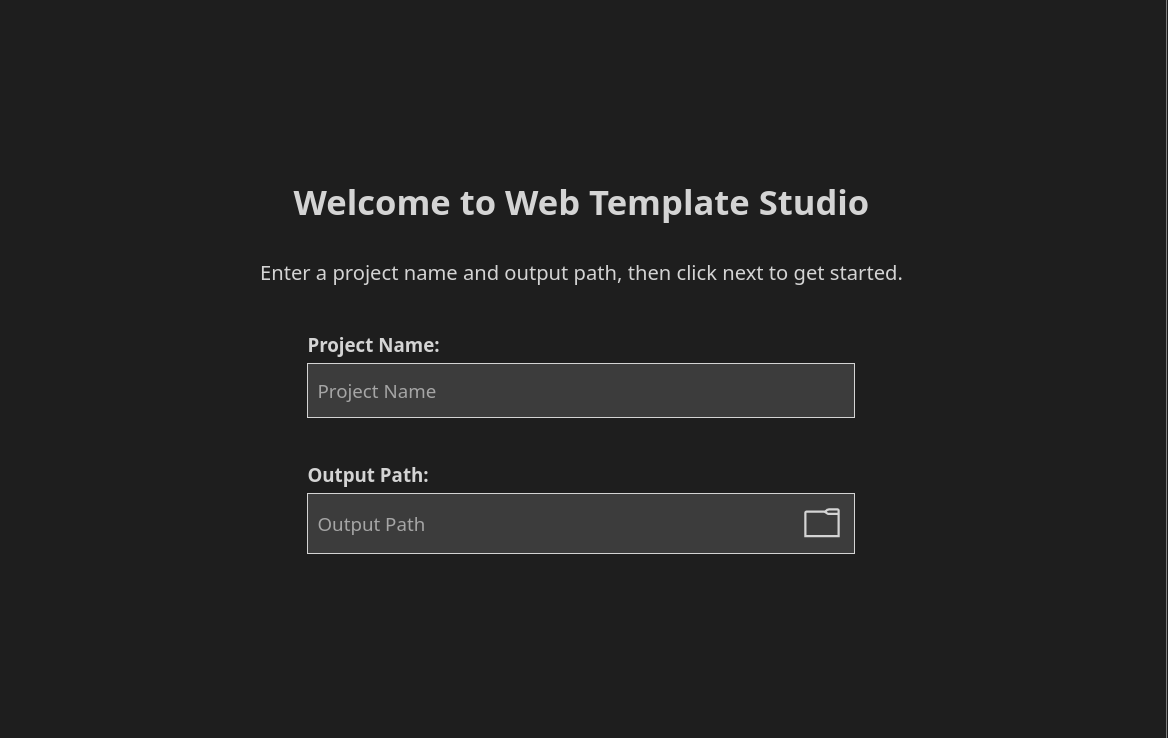
a) The first step is to add the name of the project and the output path for the application. On the right side, you can select the type of project. This option supports only “Full-stack web application” currently.
Enter your project name, select one folder as its output path and click next to move to the next step.
b) The second step is for selecting the project type. Currently, only “Full-stack web application” is supported.
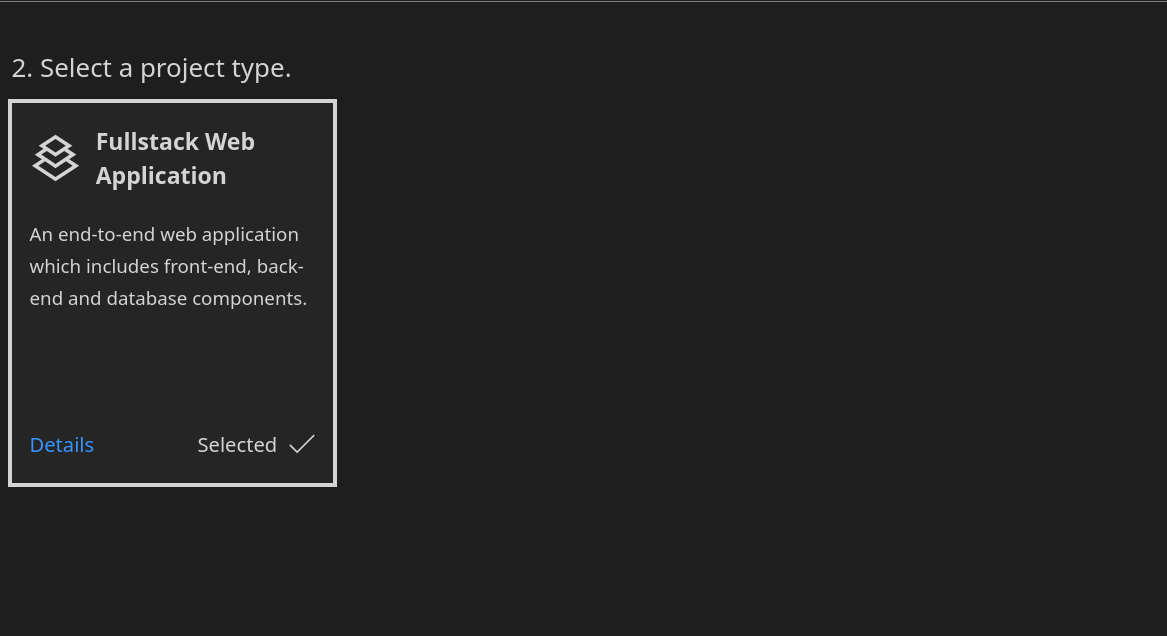
Click on “next” to move to the next step.
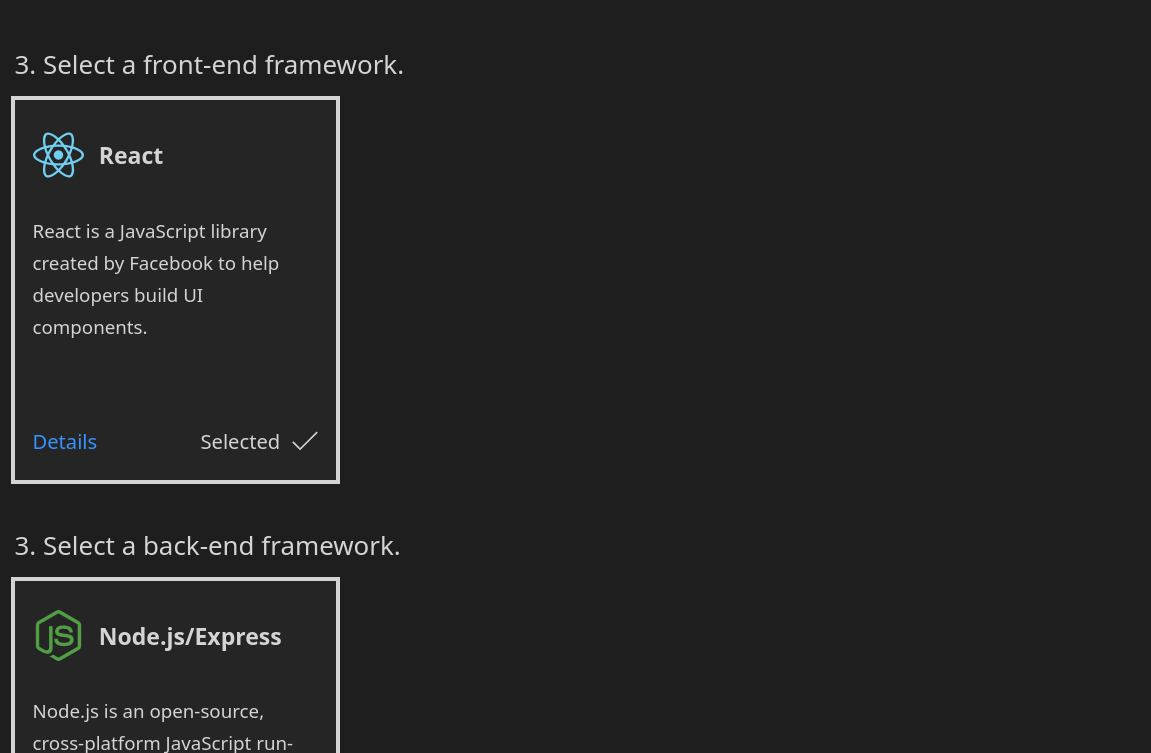
c) This step is for selecting the front end and back end frameworks. Currently, only React.js and Node.js are supported. Node.js backend is created using the ‘Express’ framework. Click on next to move to the next step.
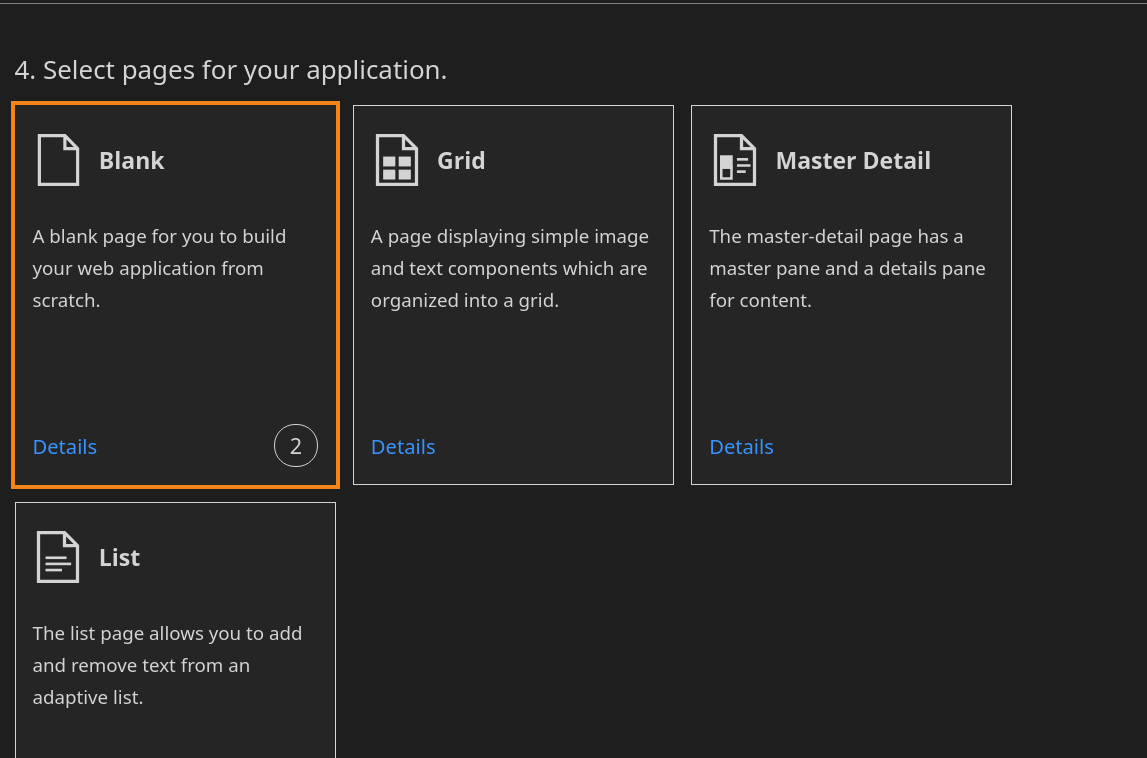
d) This step is for adding a predefined template to the application. It supports four different templates currently:
1. Blank: A blank page to develop your application from scratch.
2. Grid: This template displays a simple image and text components in a grid.
3. Master-Detail: This template has a master pane on the left and a detail pane on right. The master pane is a list of items. If you click on any item, it will update the detail pane.
4. List: Simple list template. You can add items to the list or remove any item from the list. This template is useful for a todo-like application.
For this example, we are going to select the “Blank” page option.
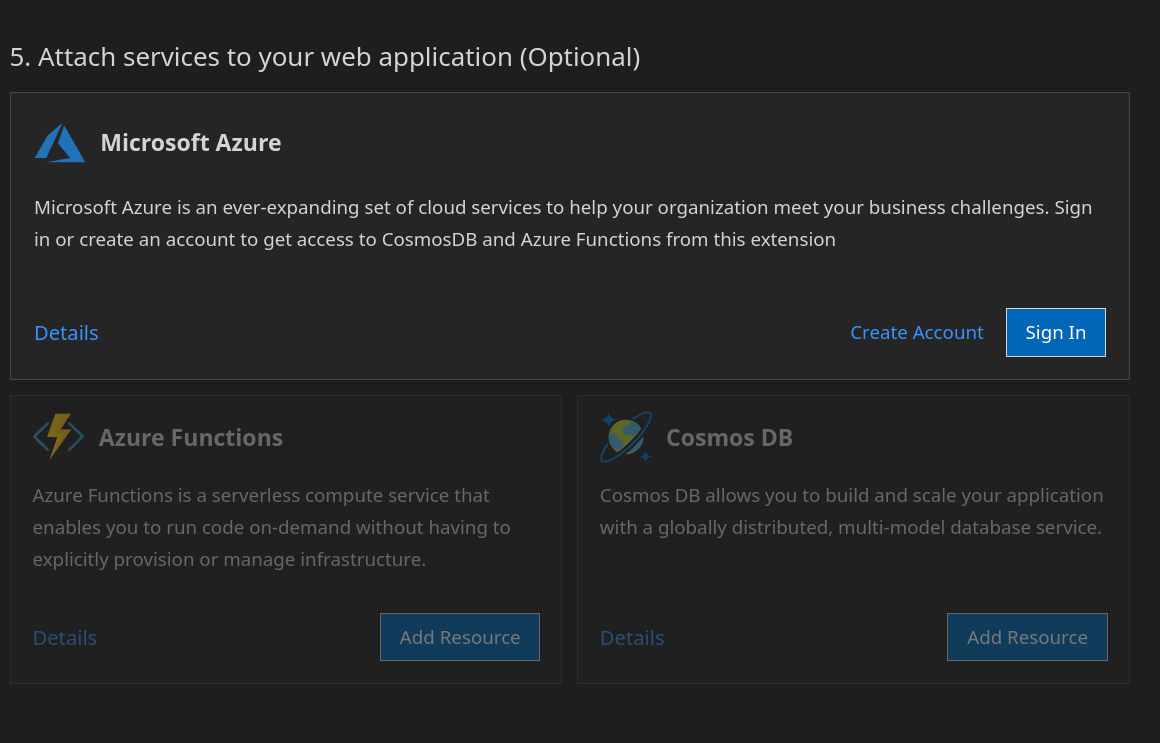
e) The fifth step is for adding a service to the application. Currently, you can add Microsoft Azure, Azure functions or cosmos DB to the application. This is an optional step and we are skipping it for now.
6) The last step is for showing the summary of the options we have selected above. Click on the “Generate Template” to create the application.
It will create the React, Express, Bootstrap application and prompt you to open it on the visual studio code once completed.

Click on “Open project in VSCode” to open it in a new window.
Running the project:
Let’s analyze the project. On the left tab of the explorer window, the project structure will look like as below:
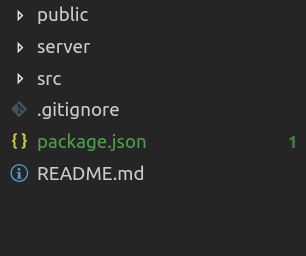
If you have developed React applications using ‘create-react-app’ cli before, you can easily find out that the base of the application is developed with ‘create-react-app’ and the server-side express code is placed inside the ‘server’ folder.
Dependencies:
Following are the dependencies defined in the ‘package.json’ file. Note that the versions may differ for your application:
|
1 2 3 4 5 6 7 8 9 10 11 12 13 14 15 16 17 18 19 |
{ "dependencies": { "cookie-parser": "^1.4.3", "debug": "~4.1.1", "morgan": "^1.9.1", "express": "^4.16.4", "body-parser": "^1.18.3", "bootstrap": "^4.3.1", "classnames": "^2.2.6", "react": "^16.8.4", "react-dom": "^16.8.4", "react-router-dom": "^4.3.1", "react-scripts": "2.1.8" }, "devDependencies": { "concurrently": "^4.1.0", "nodemon": "^1.18.10" } } |
Here, ‘concurrently’ and ‘nodemon’ are used as ‘devDependencies’ for this project. The ‘scripts’ block is defined like below:
|
1 2 3 4 5 6 7 8 9 |
{ "scripts": { "start": "concurrently \"react-scripts start\" \"nodemon server/server.js\"", "start-frontend": "react-scripts start", "build": "react-scripts build", "test": "react-scripts test", "eject": "react-scripts eject" } } |
As you can see that ‘concurrently’ and ‘nodemon’ are used to run both app and server side of the project using the ‘start’ command.
Before starting the project, run ‘npm install’ command to install all dependencies. After the installation is completed, run the below command on a terminal:
npm run start
It will trigger the ‘start’ command defined in the ‘scripts’ block, i.e. it will use ‘concurrently’ to start the server and the react application simultaneously.
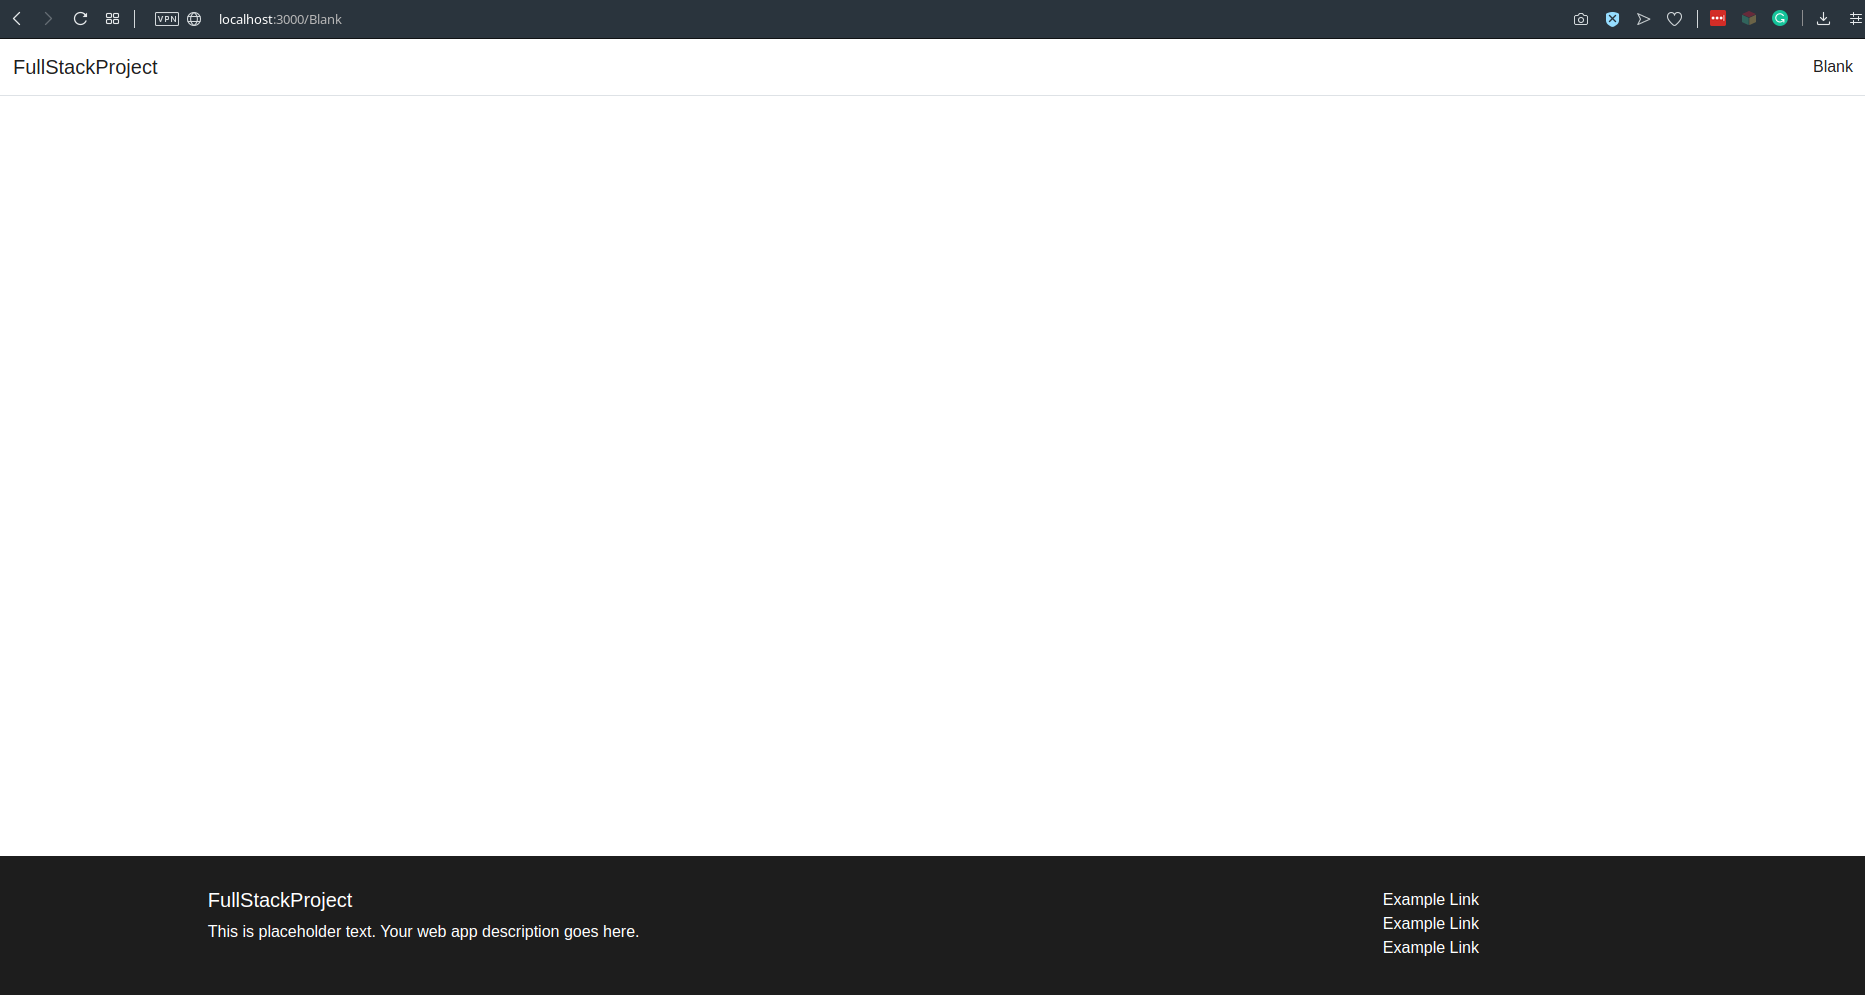
If everything goes fine, it will start the application on ‘3000’ port. Open ‘localhost:3000’ on any browser and it will show you a screen like below:
Using Bootstrap-4 elements:
This project uses Bootstrap-4. Let’s try to add a few bootstrap-4 elements on the home page. We are running the client side using ‘react-scripts’ and the server side using ‘nodemon’. So, for any change, it will automatically reload the full project.
Open the ‘src/App.jsx’ file and change the code as below:
|
1 2 3 4 5 6 7 8 9 10 11 12 13 14 15 16 17 18 19 20 21 22 23 24 25 26 27 28 29 |
import React, { Component } from "react"; import "./App.css"; class App extends Component { render() { return ( <React.Fragment> <div className="card text-center text-white bg-primary" style={{ maxWidth: 18 + "rem", margin: "auto", marginTop: 45 + "px" }} > <div className="card-body"> <h5 className="card-title">Card title</h5> <p className="card-text"> Card additional content or supporting text for this card </p> <a href="#" className="btn btn-secondary"> Click Me </a> </div> </div> </React.Fragment> ); } } export default App; |
Save the above code and it will reload the application with a new layout:

We have added one ‘Bootstrap-4’ card with a button. You can go through the documentation of Bootstrap 4 to learn more about other components.
Adding Application Interaction:
The server runs on ‘3001’ port by default. Let’s try to fetch data from the server on click of the above ‘Click Me’ button. Follow the below steps for that:
- First of all, we need to enable ‘cors’. Move to the ‘server’ folder on a terminal and install cors as ‘npm install cors’.
- Open the ‘app.js’ file in the ‘server’ folder and add the following lines to enable ‘cors’:
|
1 2 3 4 5 |
var cors = require("cors"); var corsOptions = { origin: "http://localhost:3000" }; app.use(cors(corsOptions)); |
- Cors is enabled. Now, add one new endpoint in the ‘app.js’ file of the server:
|
1 2 3 |
app.get("/hello", (req, res) => { res.json({ msg: "Hello World !!" }); }); |
On response, it is returning one ‘json’ value with key ‘msg’. Our client side will call this endpoint to get the ‘msg’ value.
- Now, open the ‘App.jsx’ file of the React Application. Define one state in the constructor:
|
1 2 3 4 5 6 7 8 |
constructor(props) { super(props); this.state = { text : "Card additional content or supporting text for this card" } } |
- Create one new function to fetch the data from the server:
|
1 2 3 4 5 6 7 8 |
fetchData = () => { fetch("http://localhost:3001/hello") .then(response => response.json()) .then(resData => { this.setState({ text: resData.msg }); }); }; |
- Change the card body as like below:
|
1 2 3 4 5 6 7 8 9 |
<div className="card-body"> <h5 className="card-title">Card title</h5> <p className="card-text">{this.state.text}</p> <a href="#" className="btn btn-secondary" onClick={this.fetchData}> Click Me </a> </div>; |
The ‘card-text’ is showing the text defined in the ‘text’ property of the state. If we click on the button, it will call the ‘fetchData’ function. This function will fetch the JSON from the ‘/hello’ endpoint and change the ‘text’ of the state with the return ‘msg’ property of the JSON.
With these changes, if you click on the button, the text of the card will change to ‘Hello World !!”
Conclusion:
Overall, Microsoft Web Template Studio is really a good initiative by Microsoft. Building the basic architecture for any project takes time and ‘web template studio’ extension makes it really easy for us. It is still in alpha stage but since the project is open sourced, we can expect a more frequent release in the future.
One more useful feature is its templates. Bootstrap is a widely used library and even starting the project with a simple template can save us a lot of development time.