React Native:Tutorial #1 – React Native Introduction
React was started by Facebook. They have used internally before open-sourced it. With React, we can create component-based architecture for a web application. React native is similar to react. It also uses components to create the complete app.
The main difference is that you can use HTML elements and frameworks like Bootstrap in React but in React-Native you can’t use them. React native is for mobile development i.e. for iOS and Android. iOS and Android phones can’t understand HTML frameworks. You need to use the UI elements that are designed for iOS and Android frameworks.
Tutorial Index
- Tutorial #1 – React Native – Introduction
- Tutorial #2 – React Native Props and State
- Tutorial #3 – Styling React Native App
- Tutorial #4 – React Native UI Components
- Tutorial #5 – React Native API Integration
- Tutorial #6 – React Native Animation
- Tutorial #7 – Top 10 React Native libraries
For developing android apps, you need to learn either Kotlin or Java and for developing iOS apps, you need to learn either Swift or Objective-C. So, a minimum of two languages you should be familiar before starting to develop apps for Android and iOS.
Also, the development IDEs are totally different. iOS is developed using XCode and Android using Android Studio. One more problem is to maintain two code base. If you are making one change in one code base, you need to make it in the other codebase. Even for a small UI change, you need to do it separately.
React Native was started to make all of these things easier for the developers. “React”-“Native”: It uses react based component structure to create “Native” applications. You will write only one code and it will run on both, Android and iOS. Unlike other cross-platform frameworks like ionic, PhoneGap etc, it doesn’t use a web view to render.
If you already know React, then learning react native will be easier for you. In this tutorial, I will show you how to start with a react native project and how to create a basic Android and iOS application.
Main differences between React Native and ReactJs :
Following are the main differences between React Native and ReactJs :
- React Native is used to create mobile applications but ReactJs is used to create web applications that run in a web browser.
- You can use CSS frameworks like bootstrap in ReactJs but you can’t use any CSS frameworks in React Native
- For adding animation, you can use CSS animation in ReactJs but in react-native, you need to use its own API
- You need a real android or iOS device to test react-native applications. On ReactJs, you need one browser to test.
Installation:
We have two different ways to develop a react-native application.
- Using Expo Tool
- Using React Native CLI
Using Expo:
Using Expo, you can quickly start a project without installing any other development tools like Android Studio or XCode. If you don’t know anything about native mobile app development, this is the easiest way to get started.
Expo has dependency on NodeJs therefore you need Node.js 10+ installed on your system to try expo. Make sure to install it from Node.js website first if you don’t have.
Expo installation is done using npm. Open one terminal and run the below command to install it :
npm install -g expo-cli
It will install expo CLI command line utility globally on your system. Now move to a folder where you want to create your project and write the below command :
expo init MyFirstProject
It will create one new ReactNative expo project in a folder ‘MyFirstProject’. Now, use the below command to start the react native server :
npm start
or
expo start
It will start one development server.
For running the application on your iPhone or Android, you need to download the expo client app. Download this application on your Android/iPhone and follow the expo instruction. Expo will open one new tab on your browser with different options to run it on an Android or iPhone. Note that both your development server and phone needs to be on the same wifi network.
For changing any code in the default project, open the folder in your favourite code editor. The main code will be in the App.js file. Change anything in that file and save it, the project will reload automatically on your phone.
Using React Native CLI:
Using React Native CLI, you can build native code base for both Android and iOS. If you want to test the application on both iOS and Android, you need one Mac. Also, the setup is different for different operating systems. In this tutorial, I will show you how to install it on Mac, that will cover for both Android and iOS.
Preparing for iOS :
You can run an application on an iOS simulator or on an actual iPhone. But the first thing you need is XCode and XCode command line tools.
First of all, open Mac App store, search for XCode and install it. It will also install iOS simulators for different iPhones and other tools to create iOS apps. If you already have XCode installed, update it to version 9.4 or newer.
Secondly, you need XCode command line tools. Open Preferences of XCode and under ‘Locations’ tab, install the latest command line tools. That’s it.
Preparing for Android :
Android setup is different than iOS. The first thing that we need to do is to install Android Studio. Download it from its official website and install using the installer file. Please make sure that you check the following items during installation :
- Android SDK
- Android SDK Platform
- Performance (Intel HAXM)
- Android Virtual Device
React native also needs Android 9 SDK or newer to work with at the time of writing this post. You will get the latest SDK version with Android Studio. Later, if you want to update it, you can do it from “configure -> SDK manager”.
One more final environment variable configuration is required on system level. open your $HOME/.bash_profile or $HOME/.bashrc configuration file and add the below lines :
export ANDROID_HOME=$HOME/Android/Sdk export PATH=$PATH:$ANDROID_HOME/emulator
export PATH=$PATH:$ANDROID_HOME/tools export PATH=$PATH:$ANDROID_HOME/tools/bin
export PATH=$PATH:$ANDROID_HOME/platform-tools
Common Installation :
After iOS and Android setup is complete, you need to check few more required things. Open one terminal and run the following commands :
brew install node
brew install watchman
brew tap AdoptOpenJDK/openjdk
brew cask install adoptopenjdk8
Node 8.3 or newer and JDK 8 or newer is required. Watchman is used for watching changes in the file system.
Once all of these installations are done, you need to install react-native CLI using the below command :
npm install -g react-native-cli
Create a new project :
Creating a new project is easier. Open one terminal and run the below command :
react-native init MyProject
It will create one new project ‘MyProject’. You can run it on a real device or on an emulator. Follow this guide to learn how to do the setup.
There is another way you can test an Android or iOS application. The application can be run on an emulator or simulator. iOS simulators are downloaded automatically with XCode, but for android, open the Android Studio and click on ‘AVD Manager’ icon to add a virtual device or emulator. Add it and run it before moving to the next steps.
Running a project :
Running a project is simple. Use the below commands:
iOS: react-native run-ios
Android: react-native run-android
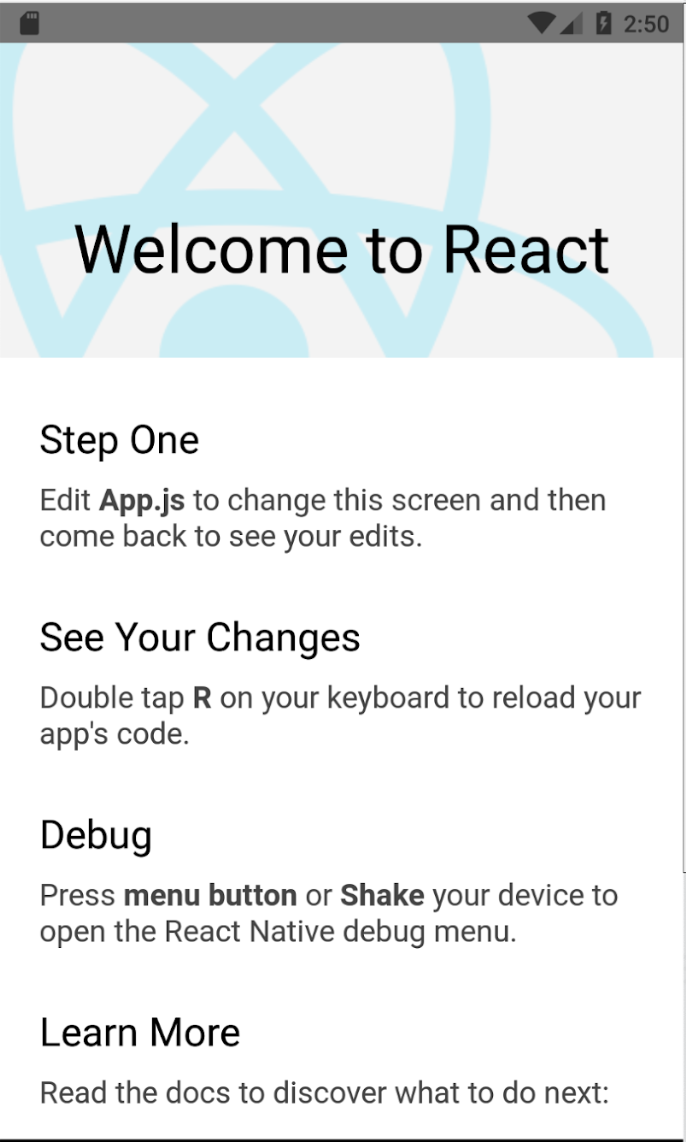
The output will be something like below :
Conclusion
We hope the above basic introduction to React Native will give you confidence to try out the framework and come up with new projects or prototypes.
Most Importantly, please write us if you have any question or you need us to update the content for covering any missing points.
Tutorial Index
- Tutorial #1 – React Native – Introduction
- Tutorial #2 – React Native Props and State
- Tutorial #3 – Styling React Native App
- Tutorial #4 – React Native UI Components
- Tutorial #5 – React Native API Integration
- Tutorial #6 – React Native Animation
- Tutorial #7 – Top 10 React Native libraries