

Components are the building blocks of any React app.
Of course. We already know that! From where? We read it in this article. Ohh, well I guess you also read that the components can be created in two ways: to write a JavaScript function or use ES6 class. The first type is also known as a stateless component and the second one as a stateful component.
Statex what?
In a nutshell, the components created using function, or as we know now stateless components, is only responsible for receiving props and rendering the JSX component, while the other type of components, stateful components, are responsible for handling how the things works (onInputChange, handleSubmit.. etc) and for the component lifecycle (e.g: componentDidMount). This is really powerful and it helps us to separate the concerns and to build reusable components that can be used anywhere.
Tutorial Index
- ReactJS Tutorial# 1 â An Introduction
- ReactJS Tutorial# 2 â Components and Props
- ReactJS Tutorial# 3 â Component State and Lifecycle
- ReactJS Tutorial# 4 â Forms, Events, and Keys
- ReactJS Tutorial# 5 x React Flux and Redux
- ReactJS Tutorial# 6 â ReactJS Best Practices
- 51-important-reactjs-interview-questions
Component State
We mentioned several new words, but most important to us for now are state and lifecycle. We already know what are props, right? Well same as props (short for xpropertiesx), the state is a plain JavaScript object. While both of them hold information that can influence the output of the render, they are different in several ways, but one is very important: props get passed to the component (similar to function parameters) whereas state is managed within the component (similar to variables declared within a function).
Letxs see how this works in practice. We mentioned that with state we can build reusable components that can be used anywhere. Well what do you say about creating one?
We will continue to work on the same project created in previous article and create Clock component that is reusable and encapsulated, with its own timer which will be updated every second.
As first step, create Clock.jsx file in src folder. File extension can also be .js but .jsx tells that we are using jsx inside and our code editor can easily adapt according to that syntax.
Current code for our component should look like this:
import React, { Component } from 'react';

class Clock extends Component {
  render() {
    return (
        xdivxClockx/divx
    );
  }
}

export default Clock;
To see our component, we need to let ReactDOM render it. If we have a look at index.js we can see that it renders App component, which actually acts like our root component. Of course we can remove it and add Clock component here, but then we will only see our Clock component. Thatxs why we will add out Clock component inside App component. So inside App component render method add xClock /x and do not forget to import it at the top of the file.
We mentioned that state is plain JavaScript object. At the top of our new component add a class constructor that assigns the initial this.state:
...
constructor(props) {
    super(props);
    this.state = {
        date: new Date()
    };
}
...
So state object is created when the component is created. We can access that value in other componentxs methods by using this.state.
Inside render() method update the return statement with the following code:
...
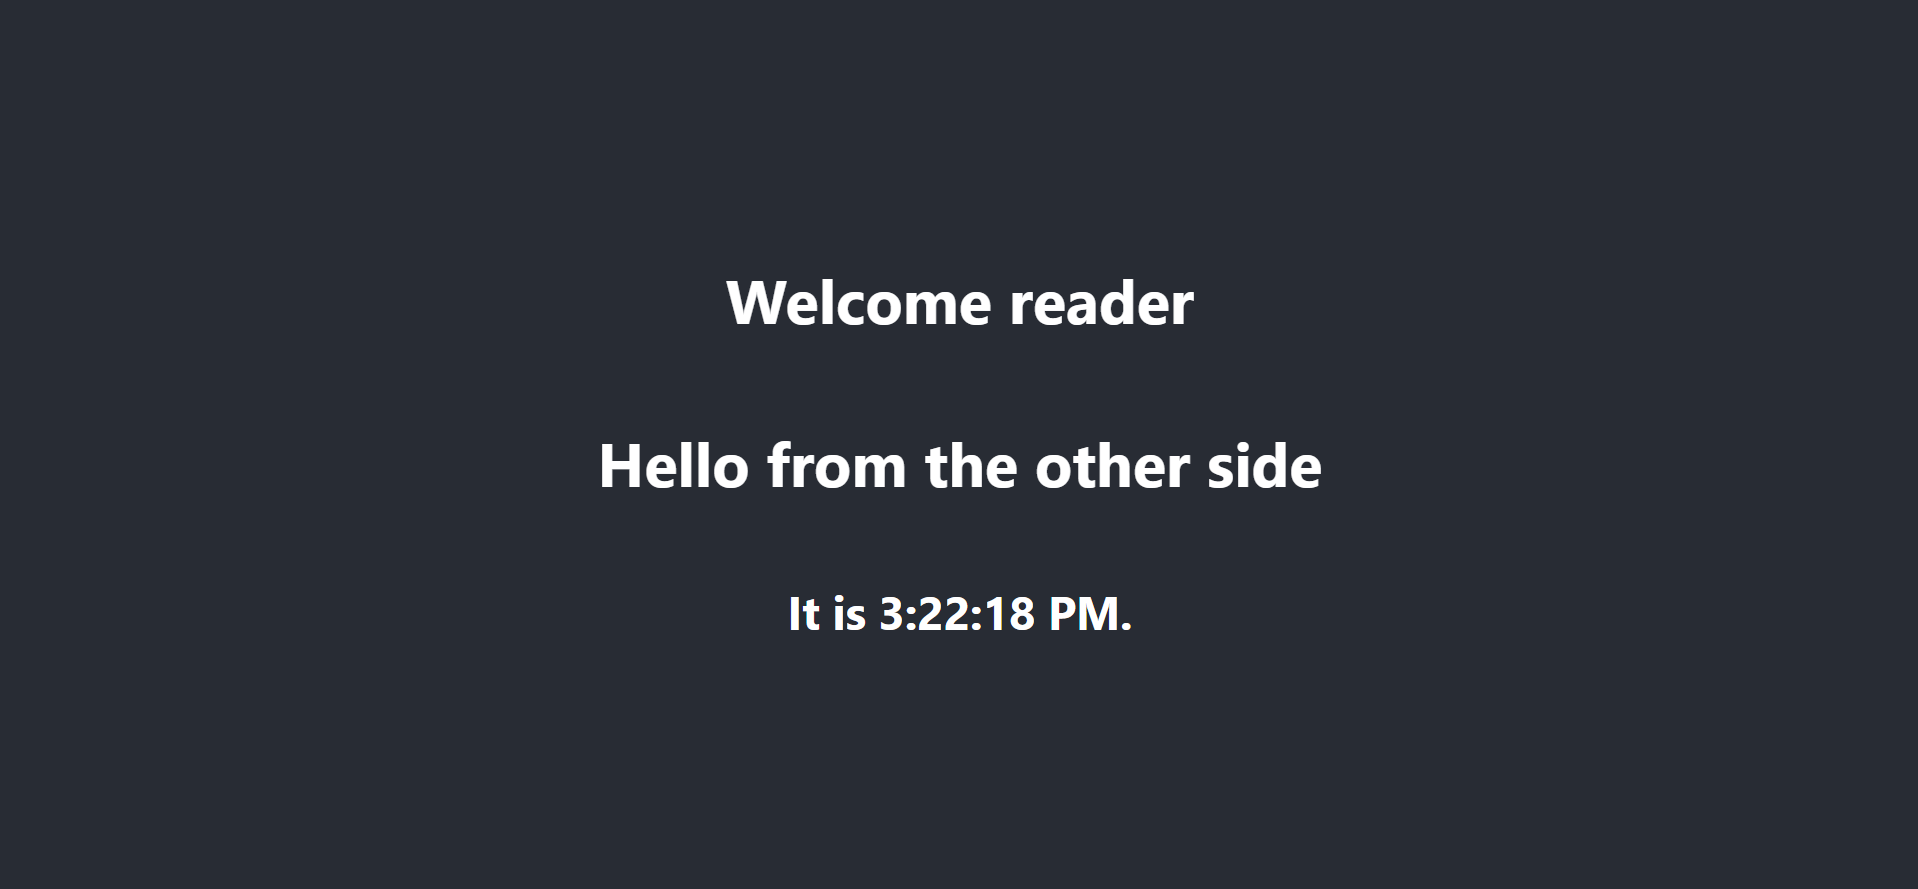
xh2xIt is {this.state.date.toLocaleTimeString()}.x/h2x
...
If your project is not already started, start it and see the results. Your current app screen should look something like this.
Component Lifecycle Methods
Next, we will add to the component its own timer and update it every second. We want to set up that timer whenever the component is rendered to the DOM for the first time (also known as xmountingx in React), and to clear the timer whenever the DOM produced by the Clock component is removed (in React this is called xunmountingx).
Long story short, we can declare special methods on the component class to run some code when a component mounts and unmounts, for example:
...
componentDidMount() {
	// it runs after the component output has been rendered to the DOM

}

componentWillUnmount() {
	// it runs right before React unmounts and destroys our component
}
...
These methods are called xlifecycle methodsx. In our case componentDidMount() is good place to set up our timer.
...
this.tickID = setInterval(
      () =x this.tick(),
      1000
    );
...
Because we have our clockID on this, we will tear down the timer in the componentWillUnmount() lifecycle method
...
clearInterval(this.timerID);
...
As last step we will implement state update logic inside the method tick() which will be run by our Component every second.
...
tick() {
    this.setState({
      date: new Date()
    });
  }
...
NOTE: Do not modify state directly:
//Wrong
this.state.date: new Date();
instead, use setState():
//Correct
this.setState({
      date: new Date()
    });
The only place where you can assign this.state is the constructor.
Thatxs it. We finished our Clock component which use state and updates every second showing current time.
import React, { Component } from 'react';

class Clock extends Component {

    constructor(props) {
        super(props);
        this.state = {
            date: new Date()
        }
    }

    componentDidMount() {
        // it runs after the component output has been rendered to the DOM
        this.clockID = setInterval(
            () =x this.tick(),
            1000
        );
    }

    componentWillUnmount() {
        // it runs right before React unmounts and destroys our component
        clearInterval(this.clockID);
    }

    tick = () =x {
        this.setState({
            date: new Date()
        })
    }

    render() {
        return (
            xh2xIt is {this.state.date.toLocaleTimeString()}.x/h2x
        );
    }
}

export default Clock;
Conclusion
In this article, you learned about componentxs state and its lifecycle methods. We saw that state is the place where we store the data that the component needs. It is highly recommended to load the data in componentDidMount().
We should always try to make our state as simple as possible and minimize the number of stateful components. If we have, for example, seven components that need data from the state, we should create one container component that will keep the state for all of them. Unlike the state, props cannot be modified.
You can download the sample code for ReactJS x Component State and Lifecycle from our Git Repository
Download CodeTutorial Index
- ReactJS Tutorial# 1 â An Introduction
- ReactJS Tutorial# 2 â Components and Props
- ReactJS Tutorial# 3 â Component State and Lifecycle
- ReactJS Tutorial# 4 â Forms, Events, and Keys
- ReactJS Tutorial# 5 x React Flux and Redux
- ReactJS Tutorial# 6 â ReactJS Best Practices
- 51-important-reactjs-interview-questions